Showing posts with label Renting. Show all posts

January 15, 2013

The bathroom update that I forgot to show you

Back in the fall (I know! so long ago!), I took on a bit of an adventure in our guest bathroom. It had some dated wallpaper that was already peeling up a bit, so I decided to dabble in wallpaper removal. It can't be that hard, right? Here's what we started with:


Yeah, so do you get why I wanted to get rid of it? I started by simply peeling up the wallpaper all over the entire room. The paper itself was pretty thick, so it came up pretty well for the most part. This part probably took me half an hour.


In pulling it up, I found out that the room had never been painted! The wallpaper was placed directly onto the drywall, which I don't know if it was a good or bad thing. I had to use a putty knife and a spray bottle full of water to get the bottom layer of paper and adhesive off. It worked great in most areas, but some took some extra tedious work and it only came off in tiny pieces. This was the most time-consuming part, but I just did a few hours at a time on random week nights and some on a weekend. I was amazed at how much paper came off those walls in that small room!


Once I got that done, I gave it an overall sand and also filled in some uneven spots with putty, and then sanded those parts down. After that it was time to go buy myself some paint! The bare drywall made me feel like I needed to prime it first, just to seal out moisture (since it does have a shower in it) and help the paint to stick well and look polished. I know it's not my house, but I wanted to do it right. I was glad that I did this step!


Doesn't the paint make the white tile look so much "whiter" than before? I chose Behr's Mineral for the color, which is sort of a greige (gray + beige). I saw it on Michelle's blog in her kitchen makeover, and I knew it was the color I wanted. I'm so happy with it!

And here is the finished result...


It's not a huge difference color wise, but it getting rid of those... stripes? woven spirals? bamboo? whatever you call them... made such a difference to me. I think it was worth it! If it were my own place I would probably do some more things, but for now I am happy with these results that only cost me the price of the paint.

Both of our other two bathrooms have wallpaper, so we'll see if I get around to doing those too! I'll keep you posted :)

October 15, 2012

Home reveal: Kitchen

So remember where we left off? A few weeks ago we were looking at the living room and dining room, and now I've finally photographed the kitchen. This room was probably the one that came together the fastest, since there wasn't much furniture involved. I did change things around a lot at first though, like the stuff in the cabinets and the appliances on the counters. It's always so hard to figure out how to organize a new and different kitchen! Let's take a look at what it's looking like now...


Of course since we're renting I have no say in what the kitchen looks like, and while it's a little dated with the wallpaper, the stainless appliances and white corian counters make up for it! And at least the wallpaper is neutral. The blue tile is also not something I would pick, but it somehow goes with my kitchen colors and I love that it's unique and a little old feeling.


One thing that was tough to get used to is the lack of a pantry. My apartment had a great pantry in addition to a good amount of cabinet space, so coming to a kitchen with the same or maybe less cabinet space and no pantry was tough (my New Yorker readers are probably laughing at me). Those baskets that I found at Michaels were perfect for storing our coffee/tea on the counter and snacks above the fridge. We also ended up buying a small cabinet at Home Depot for extra food storage, which helped a ton. It's sitting in our dining room right outside the kitchen door.


This is probably my favorite thing about this kitchen! I don't love how it's closed off from the living room area, but this breakfast nook is its saving grace. I really love having a mini table where we & our guests can eat meals, or just hang out while there's cooking going on. I also like having wall space to hang things. Our old kitchen didn't have any wall space!


So that's the kitchen. Maybe in another month I'll post pictures of another room. Just kidding! I'm hoping to post more in the next week or two. Get ready!

Also, for those of you who care, here's a source list:
Table & chairs: Craigslist find
White desk organizer: Pottery Barn
Red pitcher: HomeGoods
Glass canisters: Ross
Baskets: Michaels
Rugs: HomeGoods
Extra cabinet: Home Depot (Martha Stewart brand)

August 29, 2012

Home reveal: Living and dining room

This is post long overdue! I finally got to take some pictures of our place in good lighting (not that they are professional by any means) and I'm inviting you in to see! Come on in...


(just pretend that ugly green tarp over the grill isn't there...)


This gallery wall is one of the things I was working on this past weekend. There are a couple frames that still need to be filled, and I may add a couple more frames on the bottom. There will be a post on the details of this wall coming soon :)


I just love the hallway!


Well there you have it - the work in progress that is our home! You can see why I loved the place so much. It has so many things on my wishlist: hardwood floors, good layout, and character! I loved it before we even furnished it, so I knew that was a good sign. We pretty much moved all of the same stuff from our apartment into this space and it's working well! We did have to buy the rug (found on Overstock), and I've bought a few knickknacks for those built-in shelves, which are not even close to being finished. Here's what we still have to do:

finish gallery wall
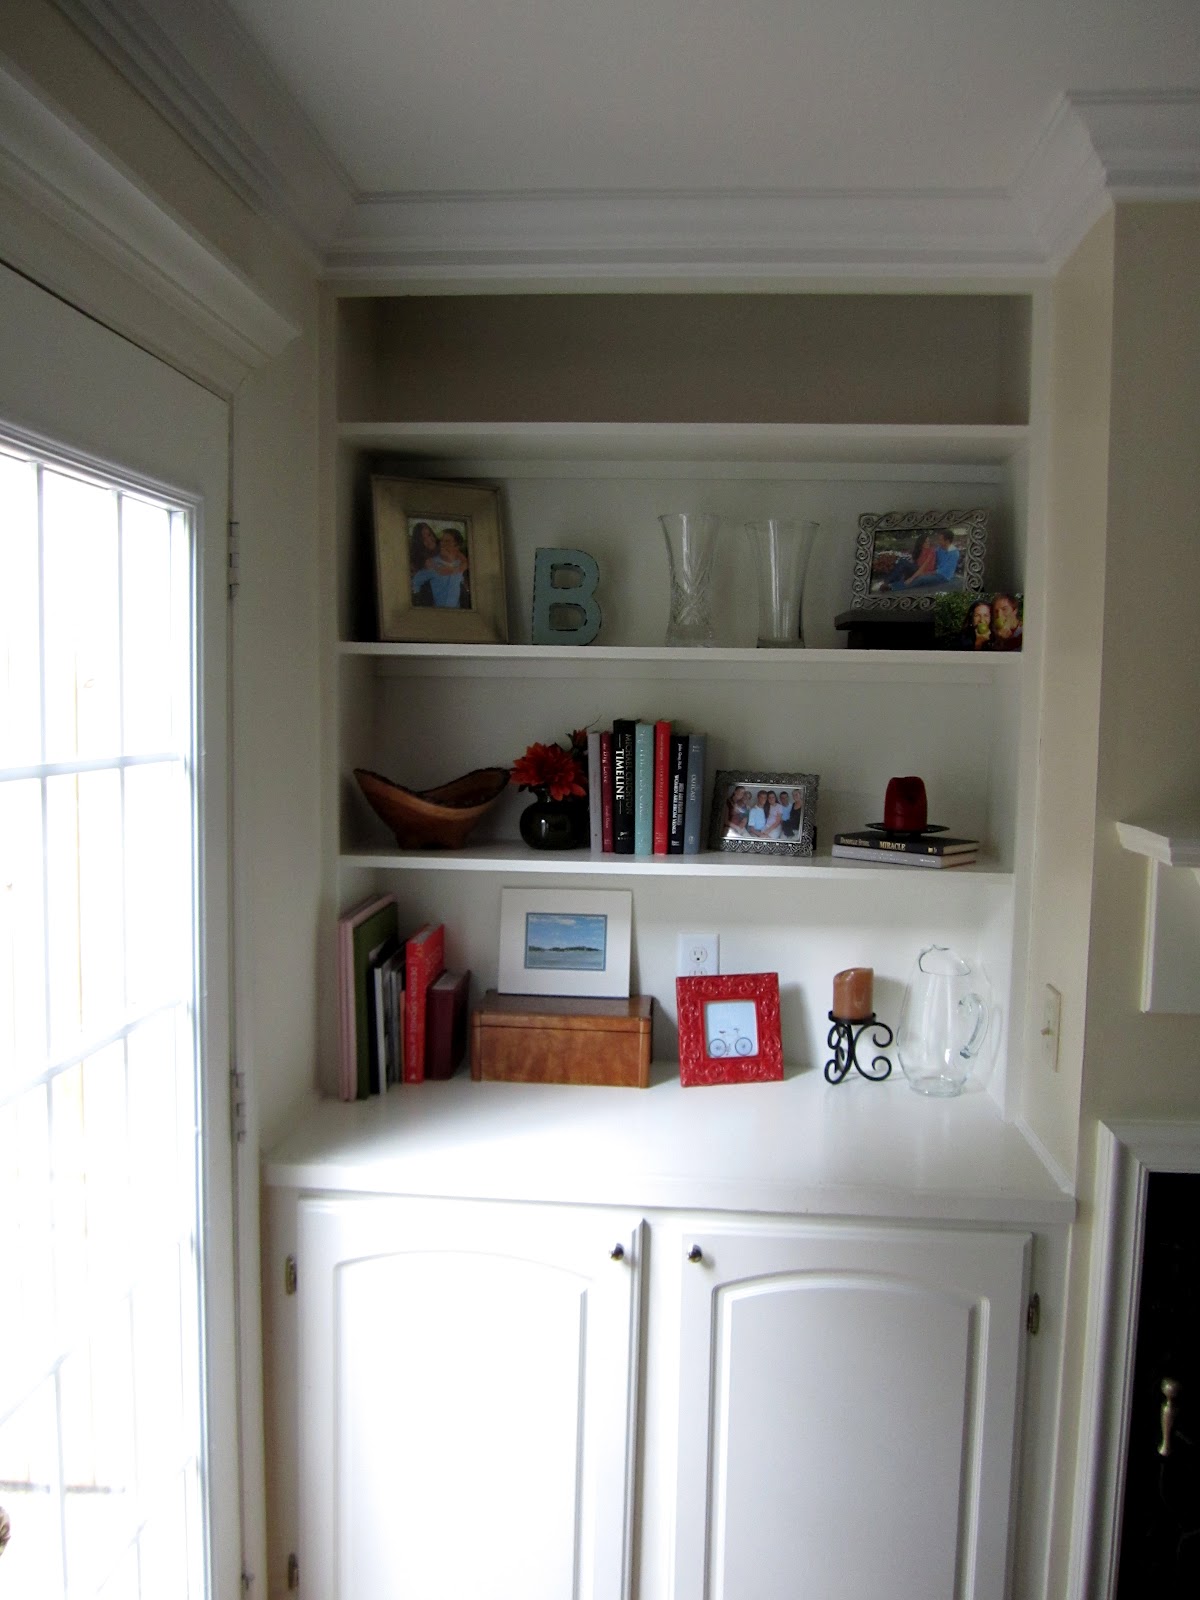
finish decorating built-ins
decide on curtains
find something for the wall behind dining room table
buy a longer chain and hook for the chandelier and center it over the table
possibly replace chandelier (to be replaced again when we leave, since we're renting)
do I need something on that big wall over the TV?

I'll be sharing the kitchen, patio, office, and guest room in the near future! Be sure to check out our painted master bedroom if you haven't yet :)

August 9, 2012

Home reveal: Master bedroom

Our place is starting to come together! We finally had a full weekend to work on some projects last weekend, and we got SO much done, thanks to Michael's parents helping us out all day Saturday. We organized all of our closets, cleared out all the boxes, and painted our bedroom! I know it would make more sense to show off our living room or kitchen first, but I thought I'd share pictures of the master bedroom since it's the only room that's mostly "done" right now. It's not going to seem much different from the way it looked in the apartment, but I really think painting the walls made a huge difference and it really feels so much more homey now. This is what it looked like before we painted...


And here's what it looks like now!


The color is "Sparkling Spring" by Behr.


My dresser is not pictured because I still need to arrange some pretty things on it, and I need to figure out something to decorate the top of Michael's highboy dresser, but it feels so nice to have one room that feels totally homey and lived in! Painting makes a huge difference, and now I'm wanting to do it all over the house! I guess that's the downside of renting - I'll have to repaint it all when we leave so I don't want to go overboard. However, I'm glad that we put in a few hours' work to really change the space. My motto for our new place is to truly move in and make it ours because we never know how long we'll live there.

As you read this, we're on vacation down in Florida, so I'm off to soak up some family time and get my tan on! Hope everyone is having a good week!

July 19, 2012

Fun things

Here are some fun things I've run across in perusing for home ideas amidst our move...


in love!


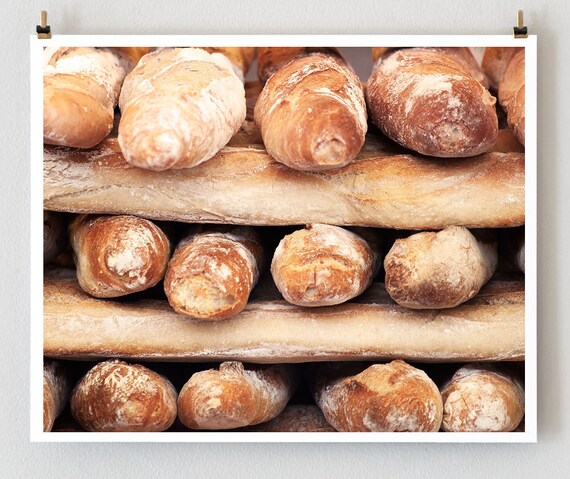
would be oh so perfect in my kitchen,
considering my deep affection for fresh bread


not so sure this would work well in my living room but I like it


guest bedroom bedspreads?


recovering a box spring in fabric
I so want to do this for our bedroom. thanks Pinterest!


for our little brick patio


Can you tell I'm excited to decorate? I'm also just excited to experiment with the things we already own - arranging them in a new space, trying different combinations, and maybe a little DIY to freshen up some things. We have been cleaning and taking loads of stuff over all week, and Saturday is official moving day! You might expect me to say I'm exhausted, but I really love this sort of thing! Moving to somewhere different, finding new ways to organize things, and making brand new memories in a new (to us) home - this all excites me and actually gives me energy! I'll start with the updates as soon as we're not living in two different places :)

Happy Thursday, friends!

January 31, 2012

Hide-away Corkboard

This weekend I also completed a mini project: adding a little bulletin board inside of a kitchen cabinet door. I saw the idea on Young House Love a few weeks ago and have been wanting to try it. I thought it would be a nice place to store recipes I want to try and random pending things I don't want scattered on my counter. And it was so so simple!

First, I bought a pack of cork boards at Jo-Ann Fabrics, for about $5.


What my cabinet looked like before... 


I measured the space and cut the cork with scissors. A razor blade probably would have been more effective/neater, but I was lazy and it didn't come out very jagged so it worked well. I was planning on gluing the cork board to the inside of the door in some way, but the package came with these handy adhesive squares that worked just as well and were super easy!


Thanks to the measuring tape, they fit in there perfectly. 


Now I have a handy place to store recipes, coupons I need to use soon, and other things that clutter up my desk corner of the kitchen. This is the perfect project for a renter. I can't see the rental company ever having an issue with it, and even if they did, the cork could be easily removed. I might also add some decorative pushpins to jazz it up.


When the door's closed, you can't see a thing! I'd have to say this little project was a success!


[Did you spot my 2012 goals and resolutions list?? It's never too late to make some resolutions for the year! Click here to get yours!]

November 14, 2011

Cabinet reorganization

So I had a problem with my glasses/mugs/cups cabinet. There were no shelves that fit the height of our water bottles and travel mugs, the top shelf was too hard to reach to even think about keeping it organized, and it all was just cluttered. A couple weeks ago I got fed up and started brainstorming.


I like having the glasses right next to the fridge and sink, and also having the coffee mugs above the coffee maker. So moving anything in this cabinet wasn't an option for the way this kitchen is set up. After living with this for over a year, trying to figure out a solution, I suddenly realized something. Renting does not mean customization is not allowed! I found out how the shelves were clipped in, and simply moved the clips down a few notches: 1 notch down for the middle shelf, and 2 notches down for the top shelf (I measured the height of the travel mugs to figure out how much space the top shelf would need first).

And, voila!


I got rid of the useless space above the glasses, and did away with stacking the mugs. It is so nice that I can actually reach the travel mugs and that we have some plastic cups that are easier to get to. It's pretty obvious that I got rid of a few mugs, too. The chipped ones and that free blood drive one had to go anyway, so this little project helped me get that accomplished as well! Hopefully on my trip to Goodwill I'll find something good to DIY. I'm in the mood for a project, and there is still a lot to do in the office.


I love my newly-organized cabinet. It's also inspiring me to find out what else in my kitchen could be organized better, like my tupperware cabinet or my pantry. Hmm, not sure if I'm ready to tackle those yet...

September 5, 2011

The Master


Ok, so this project has been a long time comin'... I have toyed with tons of ideas, trying to find the right fit for our master bedroom. Out of all the ideas I hemmed and hawed over, I ended up choosing some pretty simple accents. And I love it! I am not too much for super flourishy decor, and since our Pottery Barn duvet cover is so busy, I ended up simplifying the rest. I would also have to say that this room still is not totally "done." There are some things I'm still deciding on and/or don't have the money for; one being an upholstered storage bench for the end of our bed. But for now, this room at least has pictures on the walls and a comfortable feel to it. For now, I am content!

Thankfully, we did not have to spend much on furniture. Michael's generous parents bought us this bedroom set for our wedding. I got to pick it out, though! We bought the mattress and an extra nightstand since only 1 came with the set.


Ideally I would love to paint our bedroom one day. Possibly a cool blue or light khaki. Since we are renting an apartment and are not sure how much longer we'll be here, I decided not to paint the walls because we'll have to repaint them when we leave. I sort of wish we had just done it when we moved in so we could enjoy it longer... but the ceilings are high so it would be a pain to repaint when we leave. One day we will have color on our walls!

I did not post any pictures of Michael's highboy dresser, because there is nothing fun on top of it. Still looking for something to decorate it with...


See what I mean about the curtains? They just hang there. Does this look good or do they need help?? (it's kind of hard to tell but they are blue - bad/blurry picture quality, sorry!)


Furniture: Consignment store and Target
Lamps: Target
Duvet cover and shams: Pottery Barn
Wicker clothes hamper: Ross
Above bed frames: Target
Dresser frames: Pottery Barn and Ross

If you want to see my living room, click here.