Showing posts with label Crafts. Show all posts

February 13, 2012

Handmade Valentines

I don't normally make Valentines, but this year I just had the urge to craft some up! I made some simple notecards out of white cardstock and scrapbook paper. I was so happy with the way they turned out!


 What you need to make your own Valentines:
8.5x11" sheets of cardstock paper
scrapbook paper, different patterns of pinks and reds
paper cutter
scissors
double-sided adhesive stickers

Directions:
Cut cardstock paper in half using paper cutter. Fold each half in half to make two cards. Cut a square of scrapbook paper slightly smaller than the card to be the background. Stick on the card with the adhesive stickers. Cut out hearts in different sizes and then stick on background in a random pattern. Repeat for as many cards as you need.

I just played around with the scrapbook paper until I found matches that I liked. As you can tell, I liked the big heart and little heart design the best! You could fold the paper in half to cut out perfect hearts, but I liked how mine turned out asymmetrical. It had a more whimsical feel that matched the scrapbook paper!


These things make sticking paper together so easy!


I really could not live without my paper cutter. I am the worst at cutting straight lines! 


And the finished result...


Did you handmake anything for Valentine's Day this year? Do you hand out Valentines to friends, family, or coworkers?

December 5, 2011

Cranberry Ornaments

I can't believe my long weekend is over! I had an amazing four day weekend that was full of spending time with friends, visiting newborn babies, and decorating for Christmas. It was fantastic! We picked up our tree on Friday and I am absolutely loving the evergreen smell and the coziness of the lights in the evening! I have some fun projects to share with you. I also managed to somehow get glitter all over my apartment. I don't know how, but whenever I get glitter out, it somehow always spreads itself everywhere, even in the places I wasn't using it. Did you have a good weekend as well?

One of the projects I attempted was making these cranberry ornaments, found at a favorite blog of mine, Ten June. I thought Michelle's idea was so unique, and I decided to try it. What do you think?


I took advantage of the amazing deals all the craft stores are having (50% off most of the Christmas decorations!) and bought 8 glass ball ornaments, a big bunch of cranberries, and champagne colored glitter. I cut a small sprig of cranberries, glued glitter to them, and then glued it to the metal cap of the glass ornament and stuffed them inside the ball. I think they turned out so cute! I love that you can see the Christmas lights through them.


I had some cranberries left over, and used them to decorate our dining table. I'll be sharing that in a later post!

There are probably a million different things you can do with these glass balls to create fun ornaments. Have you tried any lately? What are some of your favorite Christmas tree decorations?

P.S. I'm starting a new chapter in my career today, and I am super excited. Wish me luck!

November 29, 2011

DIY Christmas Trees

The Christmas season is finally here! I am kicking it off by joining a link party over at Hi Sugarplum! to share my first 2011 Christmas craft with you. I'll hopefully be linking up with everyone for the "Christmas Cheer in the Blogosphere" link parties the rest of the month as well. If you have some fun Christmas ideas to share, you should consider joining these fun link parties!


Just realized that I need to get my Christmas tree set up by December 8th... okay, better get on that!

The Christmas craft that I'm going to share with you is how to make cute little Christmas trees for a tabletop or mantle. I was brainstorming on what I could use to decorate our buffet table in the dining room, and I've seen so many unique Christmas tree ideas (here and here) that I thought it would be fun to try making some of my own.

I like shabby chic, but I don't think it's my style when it comes to Christmas decor. I wanted something fun and colorful, so I decided to hunt for bright red and green scrapbook paper or wrapping paper. At Michael's I could only find shiny wrapping paper (I wanted a matte finish) and no patterns that I liked. I then found a few sheets of scrapbook paper I liked (4/$1 sale - score!) and picked up a few other supplies I would need:


I bought 3 Styrofoam cones (9", 12", and 15"), scrapbook paper, spray adhesive, and star buttons. I debated about bells, ornaments, and glittery stickers for the toppers and decorations but went with these stars, which I'm very happy about.

I basically just started measuring by wrapping the paper around the cones to see how much I would need.


Once I got the paper where I wanted, I drew a line around the bottom as I held it tight on the cone (no gluing yet). I then took the paper off the cone and cut along the line. I didn't do this on the first one, and it was so much easier this way.


I didn't provide a full on tutorial because it was a lot of trial and error cutting, sizing, and gluing. The spray adhesive actually didn't turn out to work well at all. I think it is meant for bigger projects because the sprayer was very powerful and it was hard to be precise and get into tiny spaces. I pulled out my trusty ol' glue gun, and that worked great. Just had to watch my fingers since the heat goes straight through the paper!

After the paper was secured on the cones, I glued the star buttons on top. And here is the final result! The whole process took me about an hour.


Only the largest cone needed to sheets of scrapbook paper. I used double-sided scrapbook adhesive tabs and matched up the stripes way before I started cutting. You can see it up close here, but from far away it looks perfect.


If you have a fun Christmas craft to share, be sure to link up with Cassie today over at Hi Sugarplum! Or you can join in on the fun throughout the rest of the Christmas season!

October 20, 2011

Inside-out Paint

This week I have been working on a project that I started in our den/office and I am excited to share it with you when I've got some of it finished! It involves painting, books, and some bright colored fabrics. It won't all come together very fast, so I'll share with you in stages. I'm excited to turn our den into something pretty. Ever since we moved in, it has kind of been a hodgepodge of random things from both of our previous homes, and never really had any type of theme or coordination. Since we got a TV in the room and have been spending more time in there, I have been noticing how plain and untogether it is. So this is my attempt to fix that! I can't wait to see what comes of it.

For now I want to show you a fun little trick I learned from a favorite DIY blog of mine, my yellow umbrella. Alina is the queen of DIY-ing thriftstore finds and turning them into something beautiful. She is so creative! Check out this gorgeous cake stand/table centerpiece she created from random glass objects, spraypaint, and glue:


She spraypainted the inside of a glass vase and the bottom of a glass platter, and then glued them together. How brilliant!! Check out her Faux Milk Glass Tutorial for the how-to. How cute would a series of different sizes and colors be for a baby or wedding shower, or even a wedding? And it is so cheap!

I recently tried doing this with blue spraypaint on a vase for my bathroom and sadly I picked the wrong color blue and it didn't really turn out. The problem with this painting technique is that you can't just paint over it because the whole point is to see the paint through the glass! Oh well, you win some you lose some, this I have learned with DIY projects. (I won't bother showing you pictures because it's just not worth it. Just keep looking at Alina's beautiful creation :)

I hope you are enjoying your week!
Expect some pictures of the den project to come soon!

September 12, 2011

Making a Diaper Cake


This is such a great gift idea for any mommy-to-be, and perfect for a baby shower. I first saw a diaper cake at my sister-in-law's baby shower a few years ago. Now my other sister-in-law, Elissa, is having her first baby in November, so I decided to give it a try. I looked up Youtube videos and it didn't seem too hard. After buying the supplies, following the steps from the Youtube videos was actually pretty easy. It turned out pretty cute and it was really fun to make! This is such a fun display to have at a baby shower, and the mommy will actually get to use it.

Here's the how-to!

What you will need:
80+ diapers (any size will do, I picked the ones that Elissa had registered for at Target)
rubber bands (lots of small and a few large)
something to fill the middle (ex. baby bottles or baby shampoo) and/or wooden dowels
ribbon
something to use as a cake topper (teddy bear, bow, etc.)
any other decorations you want


Start by opening the diaper packages, and then individually roll up each diaper. Secure with a small rubber band.


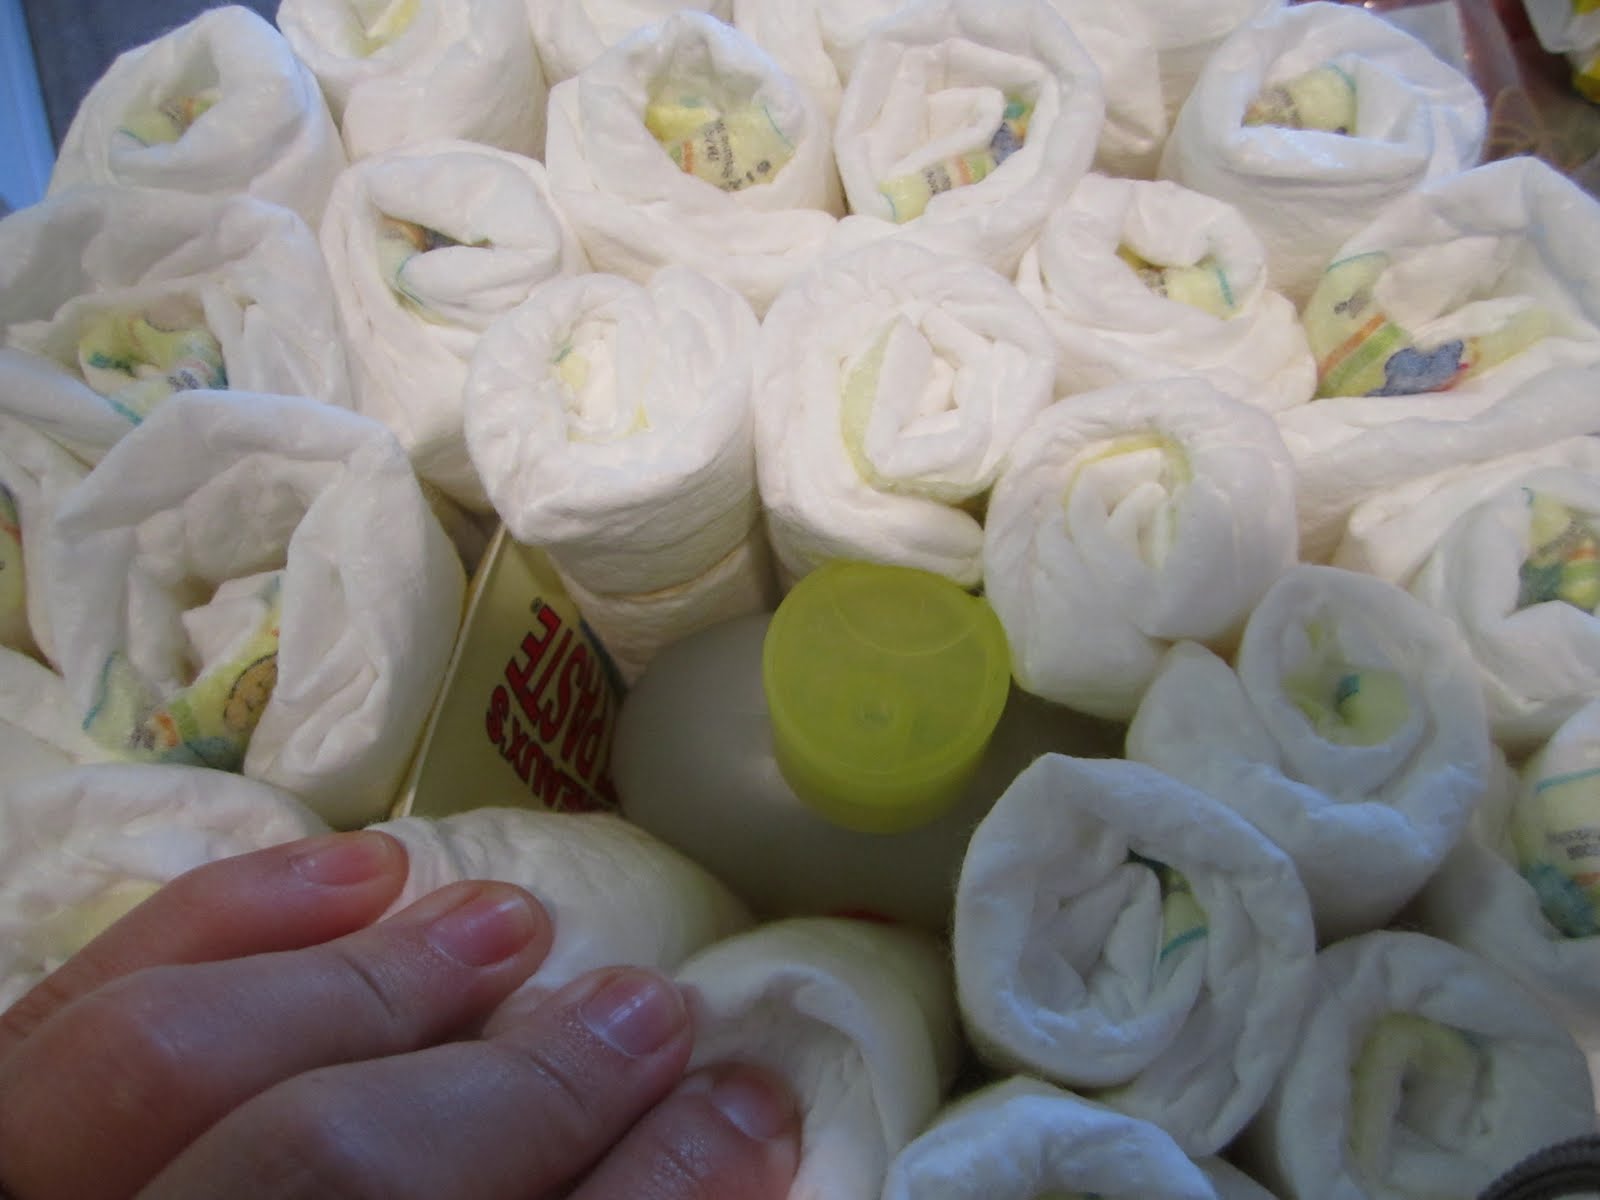
Get a large rubber band and wrap it around your middle base. I used a bottle of baby shampoo from her Target registry. Then stuff your rolled diapers around the base.


The 1st tier, halfway done
Once the layer starts getting to the size you want it, wrap your arms around it and "hug" the cake to shape it into a circle. It is very easy for it to be a lopsided circle that is uneven around the base! Repeat these steps for 2 more layers (I guess you could do even more if you wish! I did a 3-tiered cake). Make sure to place them on top of each other to gauge the sizing and how it will look when you put them all together.

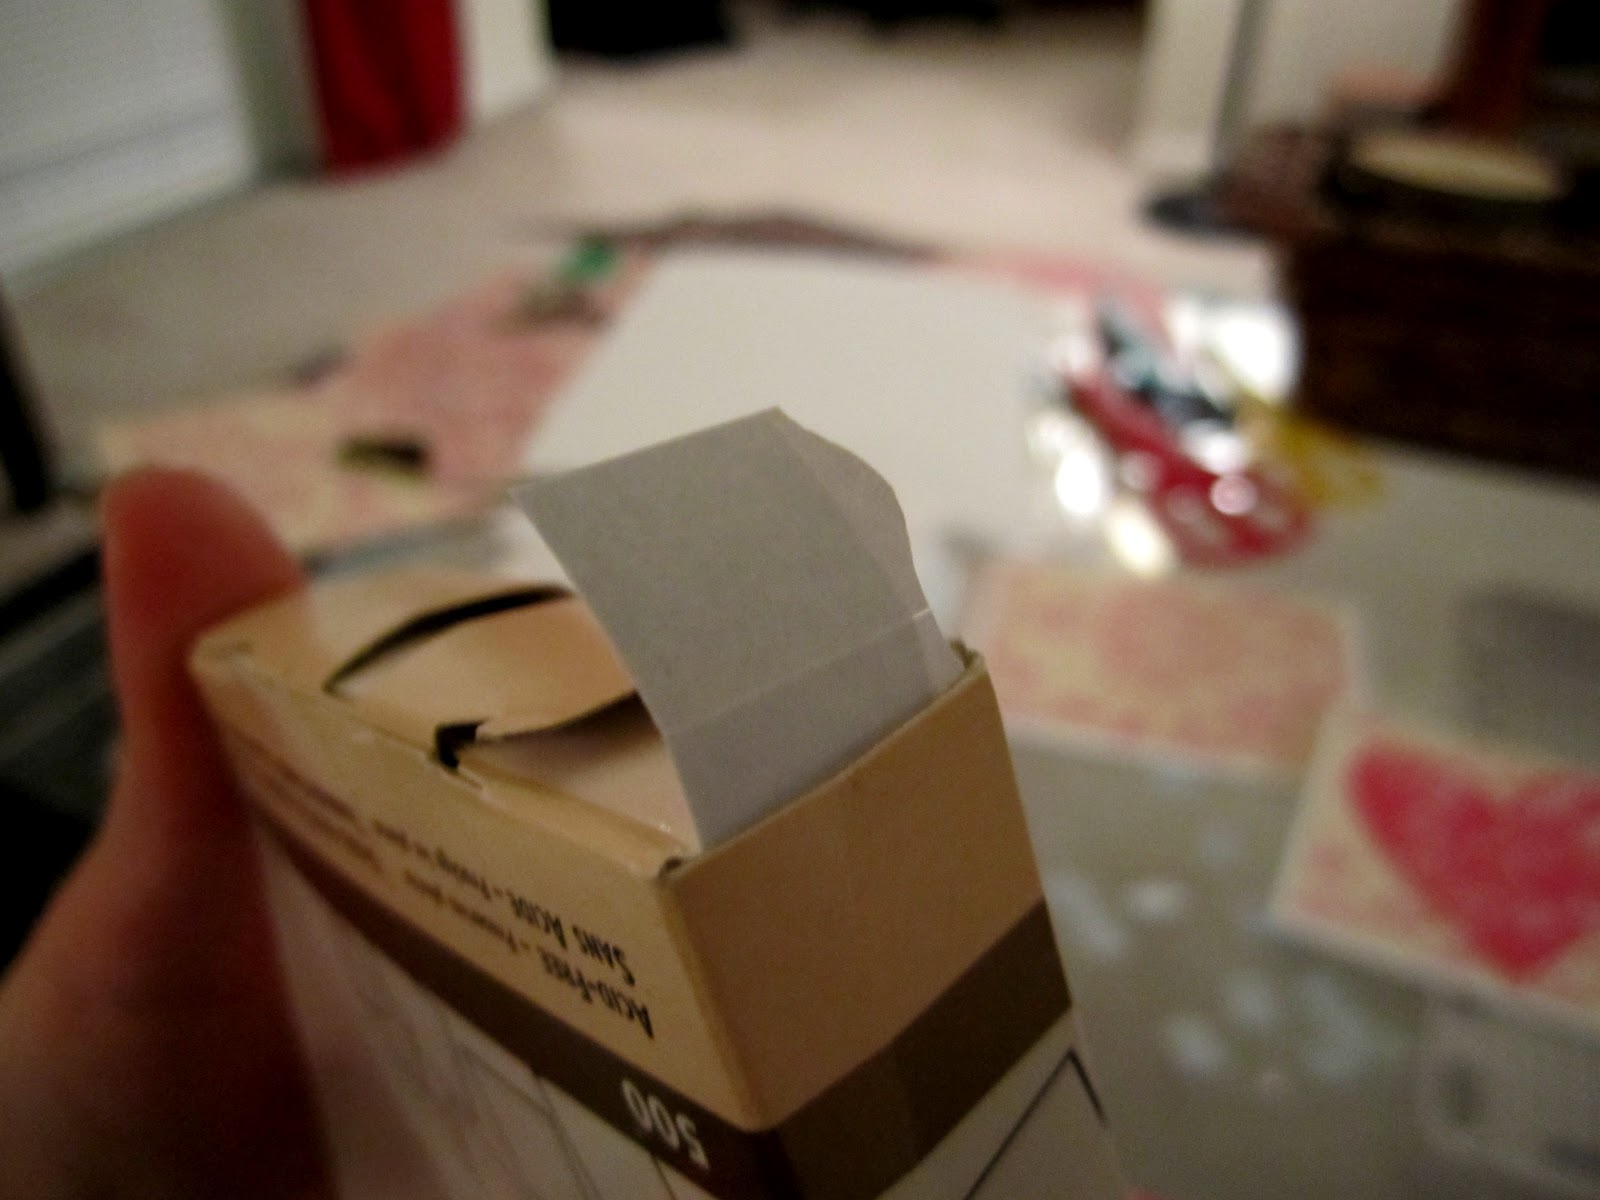
For the bottom layer, I ended up putting in a tube of Butt Paste with the shampoo bottle to fill it out more. Then I placed the 2nd tier of diapers over the bottom tier and made space in the middle for the Butt Paste and baby shampoo to come up through.

View of the 2nd tier

Have something smaller for the middle of the top tier as well. If it is taller than the diapers, this is a good thing! Push it through the bottom and secure it in the middle of the 2nd tier. This way you don't have movable layers. I also stuck wooden dowels somewhere in there (not pictured), which helped the entire cake stay together.


The next step is to use ribbon to cover up the rubber bands. I layered 3 different sized ribbons together and secured it with a hot glue gun. Don't glue the ribbon to the diapers! You want this cake to be pulled apart and used :)


I found these baby feet at Michaels! They have lots of baby stuff
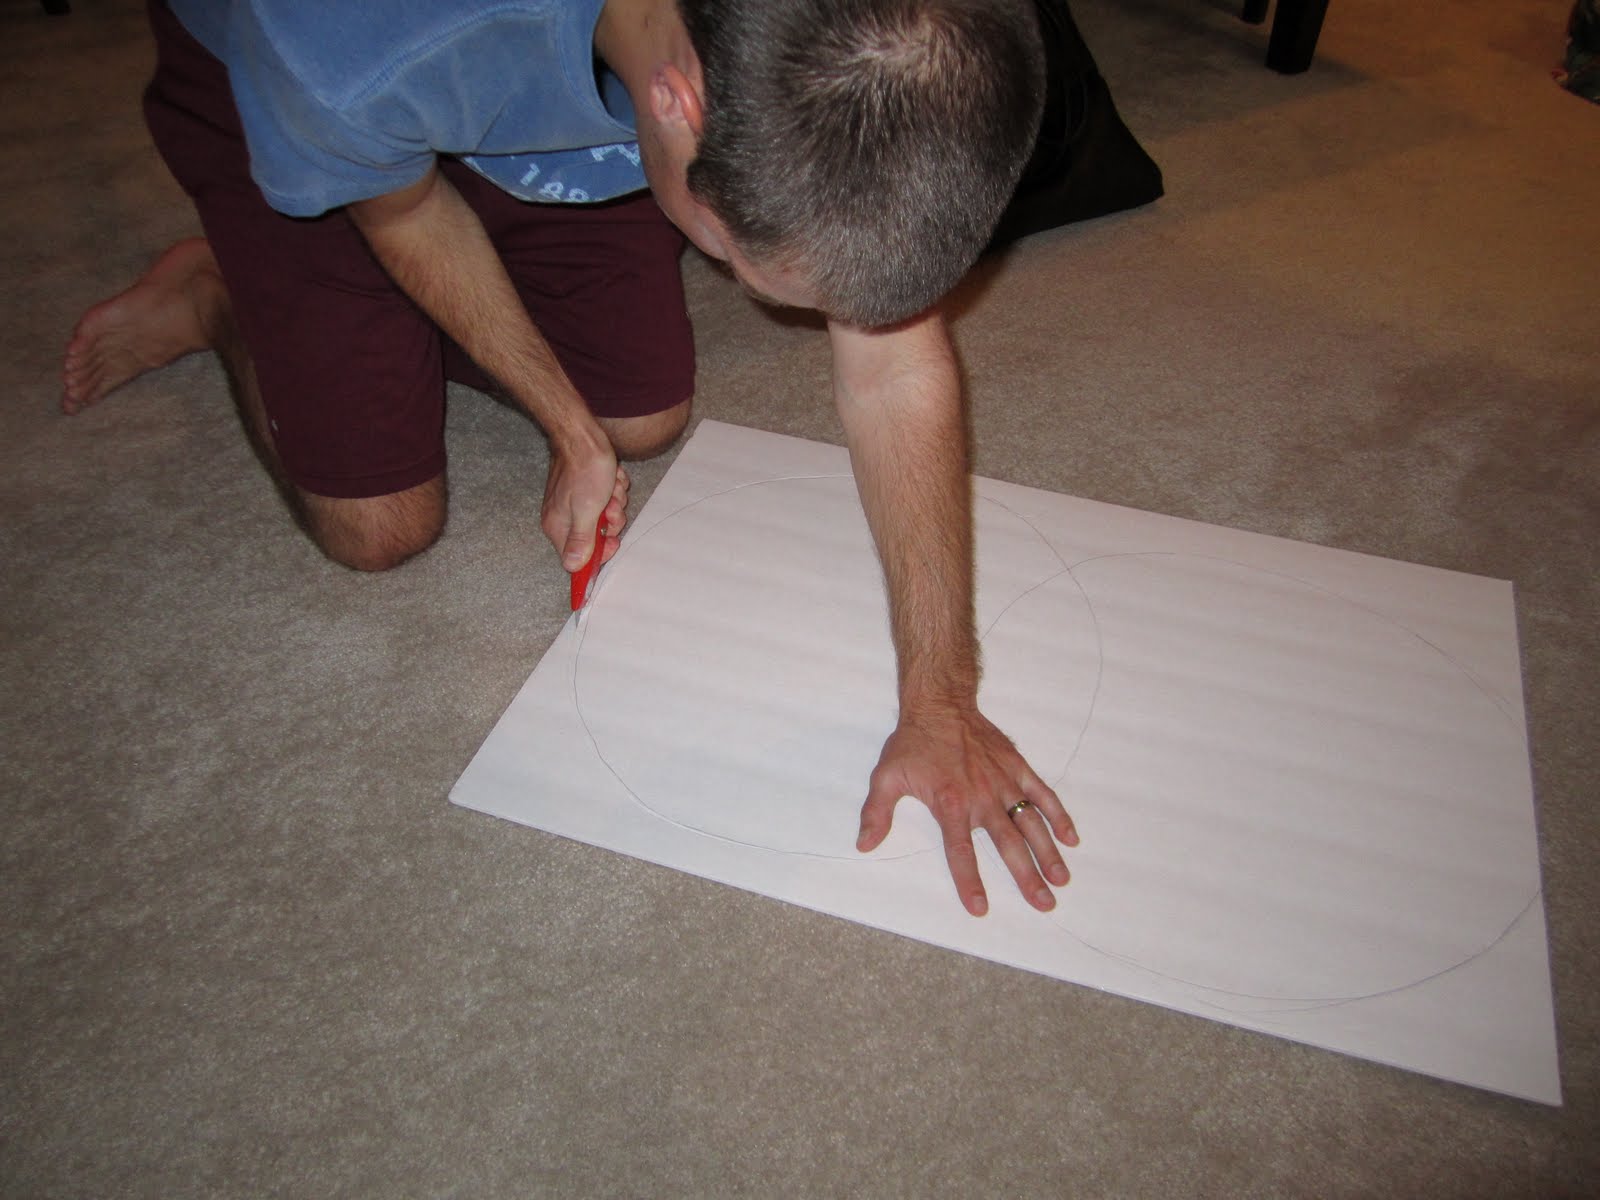
After putting it all together, I realized I needed a base. I got a white piece of cardboard at the dollar store, and got my husband to cut it into a circle with a box cutter. I added ribbon to cover up the edge.


The rest is decorations. It is totally up to you to decide what to use! I decided to go with a theme of blue and gray - the colors of Elissa's nursery. It wasn't too hard to find a few cute things that matched. The lovie bear was perfect - I stuffed the blanket part in the top so I didn't have to use glue or string to attach it. I was pretty proud of the result!


Here it is all set up at the shower:


Family and the beautiful momma!

August 11, 2011

DIY Wedding Invitations

Wedding invitations are not cheap. After dropping thousands on deposits for your venue, caterer, flowers, photographer, dress, cake, etc., invitations are not something you want to splurge on. And it is so hard to find decently priced wedding invitations that are pretty and made of good quality. After searching for hours upon hours on various websites (from American Weddings to Wedding Paper Divas to Costco) and not finding anything that I liked that was less than $500 before postage, I resolved to try to design my own. I started playing around on Microsoft Publisher, found a website that allowed you to download free design graphics, and finally came out with invitations and RSVP postcards that my mom and I both liked. It was not an easy process. I probably spent 30+ hours working on the tedious details: the size of the invitation, the fonts, the colors. At times I wanted to pull my hair out! BUT they ended up looking exactly like I wanted and for SO much cheaper. I had a family member in Greenville, SC take them to be printed at Bob Jones University Press on nice cardstock paper (it was just a really good deal to get it printed there. I'm sure there are other printing presses that have great deals). I then borrowed a paper cutter to cut them to size and ordered envelopes to fit from an online paper company. The total cost before postage was less than $150!


If you are considering DIY-ing your wedding invitations (or any invitations for that matter), here are some tips I would give you:

1. Make sure you are willing to put time into it. What you're not paying in money, you will be paying in time, and if you are working a full-time job and only have a few months to plan, you will not get these done in time.
2. Browse online invitation websites and see if you can get an idea of what you want yours to look like. Not many people can just design something on the fly and come up with something eye pleasing. I am not a graphic design artist and I knew that, so I got ideas from other people who are before I started!
3. Look at envelope sizes FIRST, then you can know how to size your invitations on Publisher. I had designed my invitations, then got around to ordering envelopes, and found they only came in certain standard sizes and I had to resize my invitations. Ugh, it is never fun to redo work!
4. Find a good printing press that will do quality printing for a good deal. Send them a proof of your work, and have them print a free sample for you. That way you know how it will turn out.
5. Have patience. Like I said, this project will take time, and it can be stressful when it's not working out like you pictured in your mind.
6. Solicit help from others. Get a second opinion from your mom, your maid of honor, or anyone else who knows the theme and colors of your wedding and has a good eye. Sometimes others' ideas combined with yours will turn into the best results.

I hope this helps! If you have any questions, feel free to email me (lybritton@gmail.com) or leave me a comment on this page!

July 6, 2011

DIY Flower Pots

Original how-to instructions here.
I am LOVING these fabric flower pots! They are so cute and I really wish I had seen this idea before planting my herb garden. I guess I could still do something like this in my house somewhere. If you are not an artist (as I am definitely not!), this craft is great because you can just use a pretty fabric pattern and it looks amazing. Oh, I want to go make one now!!